


The first step is to start disassembling and cleaning. Here you can see some of the dirt and grime that I was up against.

This photograph was taken after removing all of the corks and the pads from the keys. The next step is to remove the tenon corks and head to the chem room for cleaning.

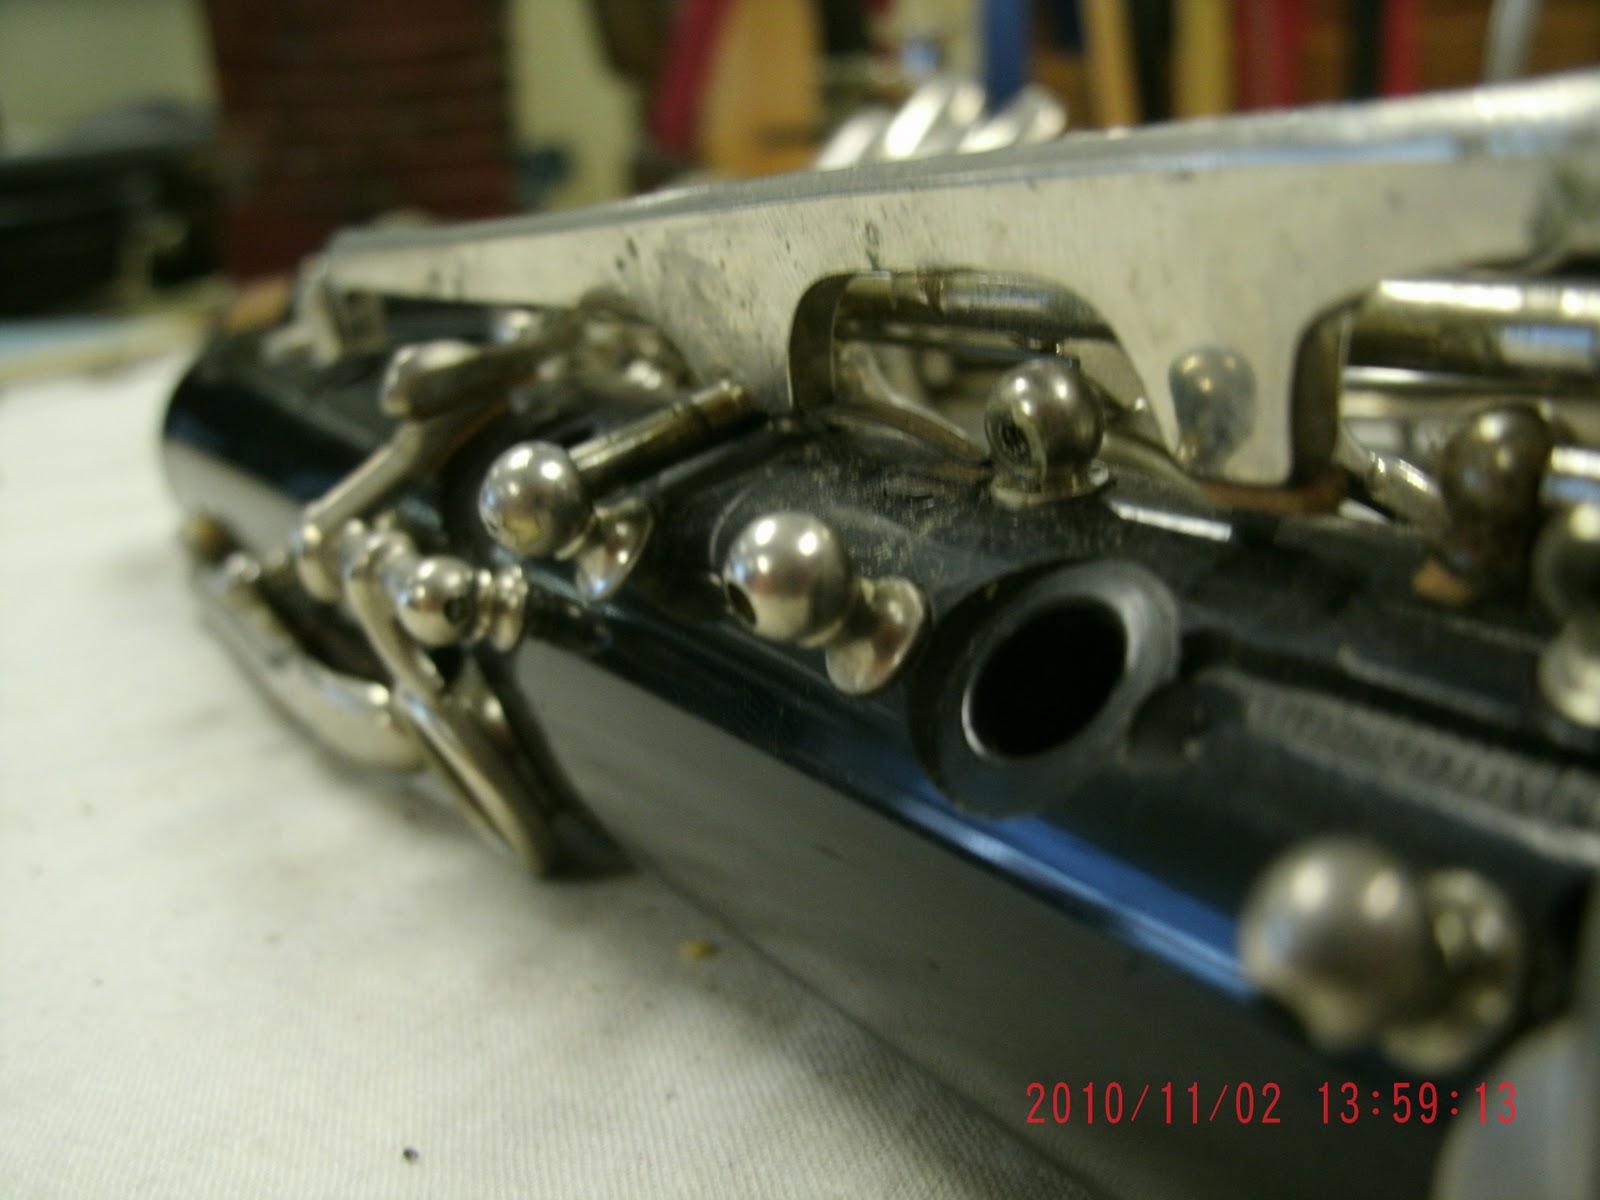
 Here you can see everything cleaned up. The clarinet was scrubbed in Simple Green and the keys were soaked in phosphoric acid. Now it is time to start key fitting. I found a lot of lateral play and end play in most of the keys. This clarinet has pilot pivot screws which made the job a little more frustrating but I am happy with the results.
Several of the posts were stripped so in order to remedy the situation I made new hinge rods. The Bundy Company uses a custom size for their screw threads that does not match the standard sizes available. It is in between a #0 and #1 size screw. I was able to use stock hinge rod at .077" for the new rods. I used a 1-56 die to create new threads which allowed the new hinge rod to fit into the post without having to tap them larger. Here you can see the old rod on the the left next to the new one on the right.

After I was certain that they keys were all fitting properly I buffed them so that they would be ready for new pads and corks.
 The bell tenon on this clarinet is both cracked and chipped. I used super glue to fill the crack and then wrapped the tenon in unwaxed dental floss in order to hold it together. The tenon needs to be replaced completely but that will have to wait until next semester. This is the reason for the loose wrapping of the dental floss. It is only a temporary fix in order to provide strength until the tenon can be properly replaced.

Gummi Cork which does not look as attractive but is far more durable.


After all of the padding and corking were complete it was time for a play test and then a final polishing. Here you can see the completed clarinet ready for the customer, but hopefully it will stick around the shop long enough for me to replace that chipped tenon.

